Creatomate vs Shotstack: An honest comparison


Summarize with





We begin an epic battle of platforms. In one corner, Creatomate, and in the other… Shotstack! In the Creatomate vs. Shotstack showdown, it all comes down to which platform better fits the way you want to create and automate video at scale. Both tools are built for programmatic video creation, but they differ in their features, editing experience, pricing, and overall workflow.
In this nifty comparison, we’ll look at their key features, pros and cons, pricing, and user reviews so you can decide which tool is the better fit for your needs. We’ll even drop in an alternative if you choose to go with something else, but more on that later. Let’s begin the face-off.
What are Creatomate and Shotstack
Now, both platforms need proper introductions:
Creatomate is a video generation API and automation platform built around template-based content creation. It combines an API with a visual video editor, so you can create templates, connect them to dynamic data, and generate video variations programmatically or through no-code workflows. Creatomate is typically used by developers, SaaS companies, marketing teams, and automation-focused businesses that need to produce dynamic videos at scale.
Shotstack is an API-first cloud video editing platform designed to let developers create, edit, and render videos programmatically. Its main value proposition is video editing infrastructure: developers can define compositions through JSON, send them to Shotstack's API, and handle video rendering in the cloud without building their own rendering stack. It is commonly used by developers and product teams building automated video features into applications or internal workflows.
The biggest difference is their focus. Creatomate puts more weight on template design combined with automation, while Shotstack approaches the problem more as developer-focused video editing infrastructure.
Both platforms are primarily built for programmatic video creation, but neither one or the other supports importing existing After Effects templates, which could be a possible issue. Instead of AE, users need to build templates inside Creatomate's or Shotstack's own editor, use the platforms' pre-built templates, or construct videos using their APIs.
Feature comparison - Creatomate vs Shotstack
On paper, Creatomate and Shotstack look pretty similar. Both let you build templates, feed them dynamic data, create videos programmatically, and handle video rendering in the cloud. But, the difference is in how you actually work with them.
Creatomate puts more emphasis on visual template creation and accessible automation. Shotstack feels more like video infrastructure you build into a product or workflow through an API. That distinction comes up again and again as you compare their editors, bulk generation, AI features, developer tools, and pricing. So, let’s go through the features one by one.
Web-based template editor
Creatomate
Creatomate gives you a browser-based video editor for building reusable image and video templates. You can start from scratch or pick one of its pre-built templates, then make individual elements dynamic so their text, images, video, colors, and other properties can change automatically.
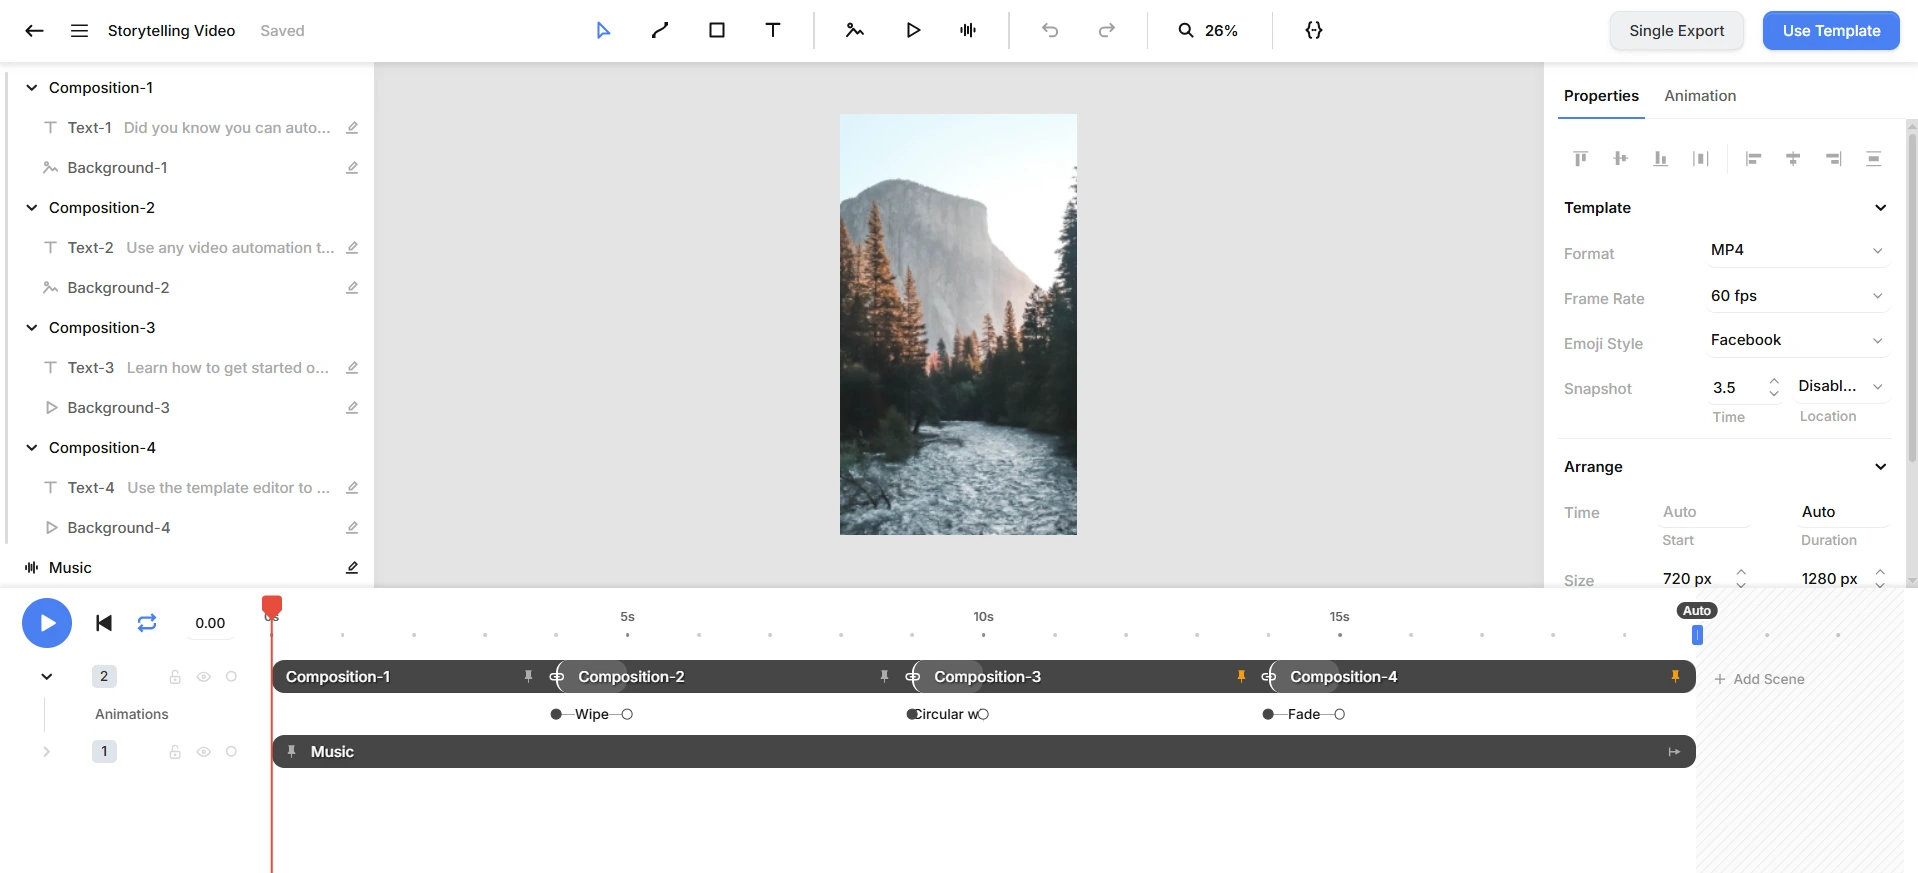
The editor is pretty flexible. You can work with animations, transitions, masks, filters, gradients, blending, and text animations. Creatomate also supports responsive templates, which is useful if you want one design to adapt to different sizes and aspect ratios instead of creating every version manually.
Underneath the visual editor is RenderScript, Creatomate’s JSON-based format. So if you eventually want more control, you can move from visual editing into code without rebuilding the entire workflow from scratch.
One limitation is worth knowing upfront: you can’t import an After Effects .aep project and use it as a Creatomate template. If you already have templates in After Effects, you’ll need to recreate them inside Creatomate or work from one of Creatomate’s existing templates.
Shotstack
Shotstack Studio takes a similar browser-based approach, but it feels a little more developer-oriented. You can build templates with video, images, text, audio, overlays, masks, transitions, filters, and other visual elements. You can also switch between the visual editor and the underlying JSON, which is handy if you prefer designing visually first and fine-tuning the composition in code later.
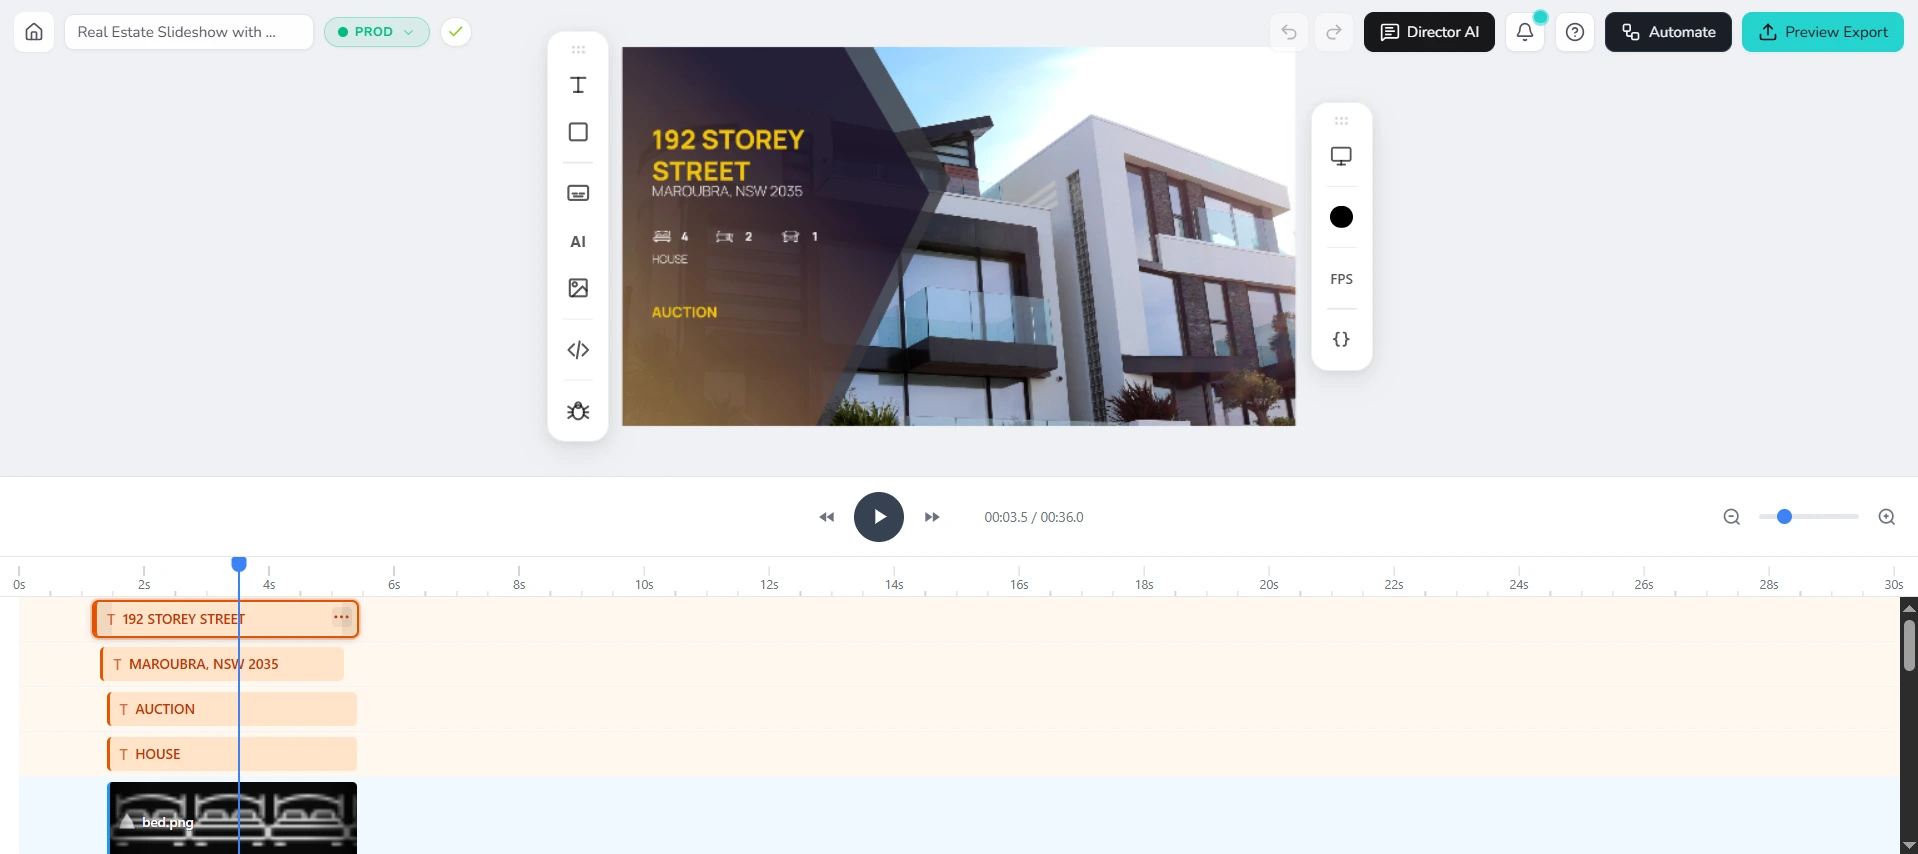
Shotstack also gives you pre-built templates and lets you add merge fields wherever you want dynamic content to appear.
After Effects has a similar limitation here. Shotstack can’t import an .aep project and turn it into an editable Shotstack template. You can export motion graphics from After Effects as rendered assets and use those inside Shotstack, but the actual template still needs to be built in Shotstack Studio or defined through its API.
Who’s the winner: Creatomate or Shotstack?
If the visual editor matters a lot to you, Creatomate has the edge. Both editors cover the essentials, but Creatomate puts more emphasis on template design, responsive layouts, and making dynamic templates easier to build visually. Shotstack’s editor makes more sense if you expect to spend plenty of time moving between the timeline and JSON anyway.
And if your workflow depends heavily on existing After Effects templates, neither solves that problem particularly well.
Bulk video creation and personalization
Creatomate
This is one of the areas where Creatomate feels particularly straightforward. You can take one template and use it to create hundreds or thousands of videos with different content. For an Excel to video workflow, you can upload a spreadsheet or CSV, map its columns to dynamic elements inside your template, and generate a different video for each row.
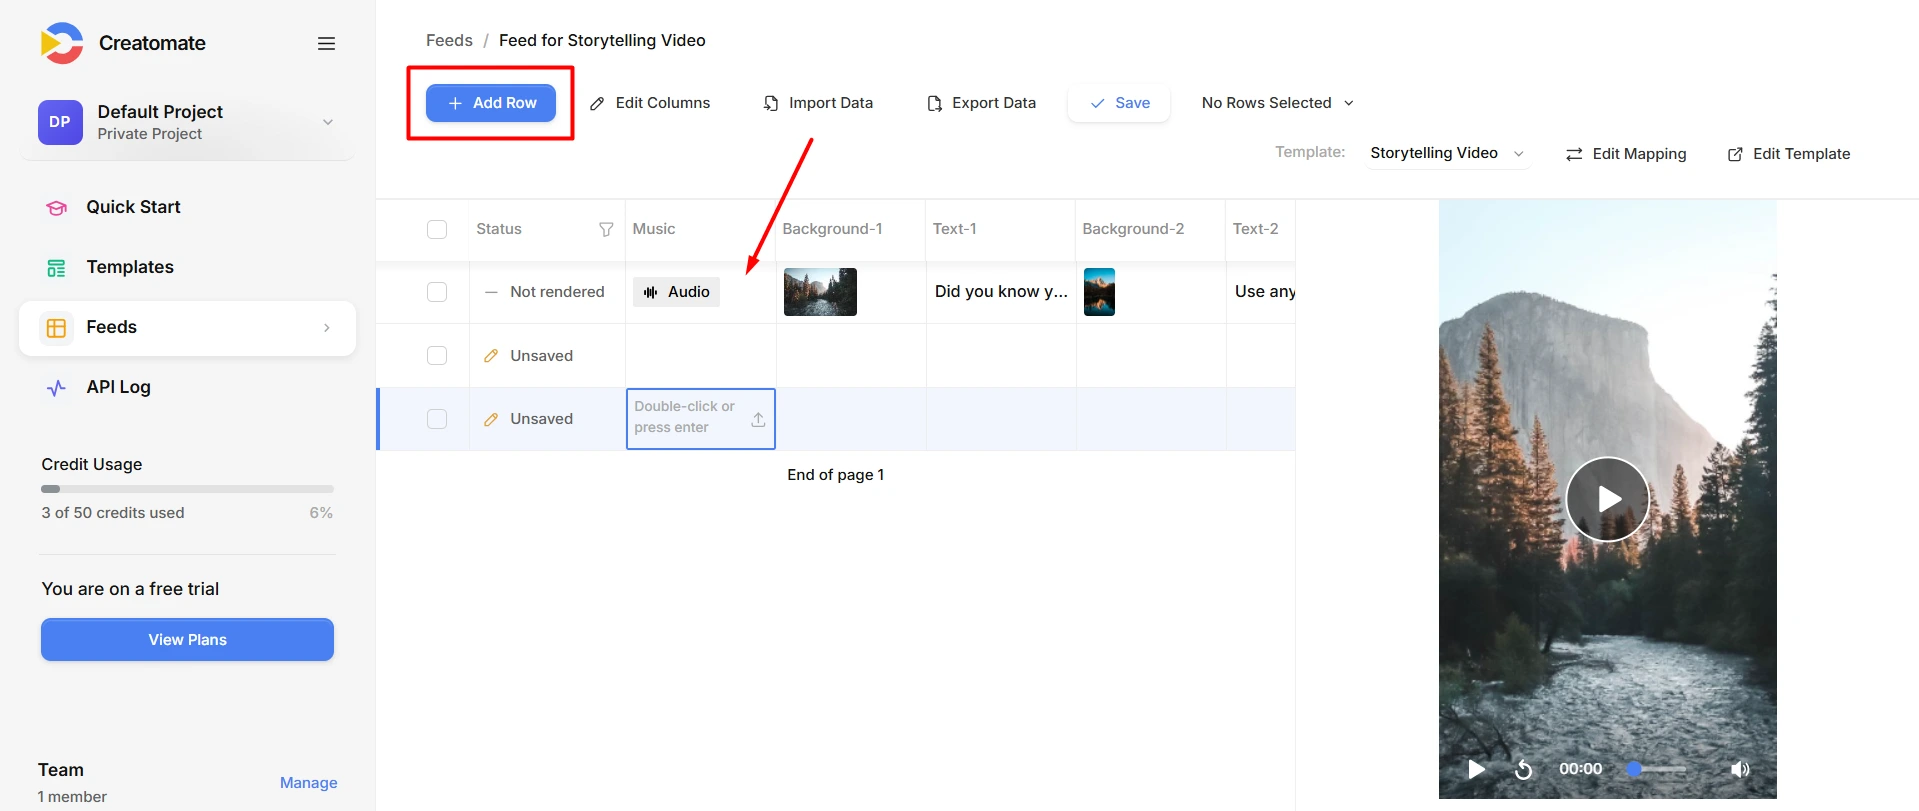
You can also automate the same process through Creatomate’s API or connect it to tools such as Zapier, Make, Pabbly, and n8n.
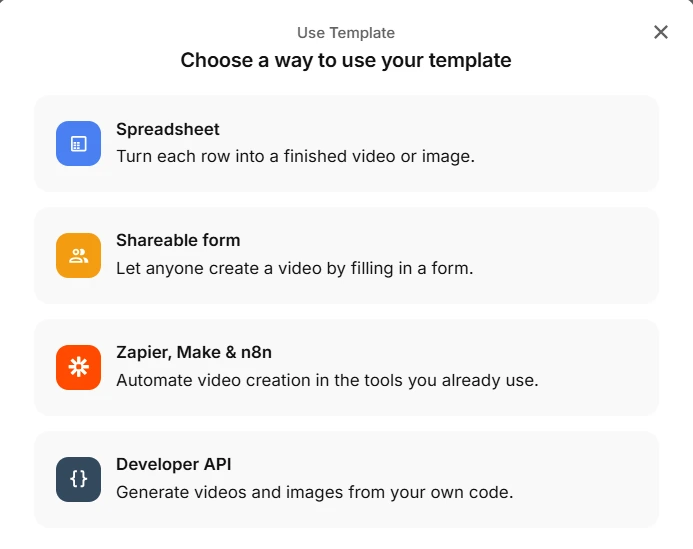
That gives you several ways to work depending on how technical you want to get. You can bulk-generate content from a spreadsheet, build a no-code workflow, or create videos programmatically from your own application.
Personalization works by replacing dynamic content inside the template, so you can change names, images, product information, video clips, prices, or practically any other variable from one render to the next.
Shotstack
Shotstack uses merge fields for the same basic idea. You create placeholders inside your template, then replace those values when you send the render request. Merge fields can control things like text, images, video, colors, fonts, and durations, which gives you plenty of room to create dynamic videos and personalized variations.
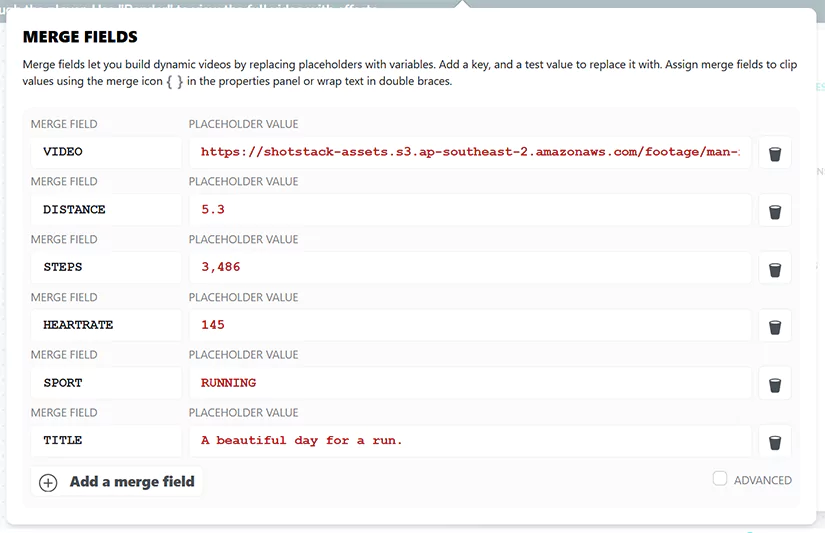
Where Shotstack differs is in how you handle bulk jobs. If you have a CSV with 1,000 rows, for example, you don’t simply upload the file and ask Shotstack to turn it into 1,000 videos. Your application reads the data and sends a separate template render for each row. That gives you control, but it also means more of the workflow sits on your side.
Who’s the winner: Creatomate or Shotstack?
Creatomate wins for convenience. If your goal is to take a dataset and turn it into lots of personalized videos, Creatomate gives you more ways to do that without building the entire process yourself.
Shotstack is perfectly capable of bulk video creation, but it expects you to handle more of the orchestration through code.
Rendering capabilities
Creatomate
Creatomate handles video rendering in the cloud, so you don’t need to maintain your own rendering infrastructure. Once your composition is ready, you send Creatomate the template and the values you want to change, or define the whole video through RenderScript, and it processes the render for you. Webhooks can then tell your application when the video is ready or when something goes wrong.
Large batches are queued automatically, while your plan determines how many renders can run concurrently and what priority they receive. You can also control properties like dimensions and frame rate through RenderScript, giving you more control when the defaults aren’t enough.
Shotstack
Rendering is much closer to the heart of Shotstack’s product. You send your edit to Shotstack, and its cloud infrastructure takes care of processing, encoding, and producing the finished video. You don’t need to build or scale your own rendering stack.
Its regular plans support video up to 1080p and 60 fps, while its High Volume offering extends that to 4K. Shotstack also advertises the ability to process thousands of concurrent renders, with additional performance guarantees available on its High Volume plan. So if your biggest headache is the infrastructure behind high-volume video rendering, this is one of Shotstack’s strongest areas.
Who’s the winner: Creatomate or Shotstack?
Shotstack has the advantage for rendering infrastructure. Both platforms can render videos at scale, but Shotstack is more explicit about throughput, concurrency, resolution, and high-volume performance. If you’re mainly looking for a powerful video rendering API rather than a template automation tool, Shotstack makes a strong case here.
AI-powered video and image generation
Creatomate
Creatomate can bring AI into your automated video workflow, but AI isn’t really the center of the platform. Instead, you can use AI-generated assets as part of a broader template-based process. That can include generated images, voiceovers, subtitles, text, and video content. Creatomate works with external services such as OpenAI and ElevenLabs, and RenderScript can also use AI image generation providers directly.
A typical workflow could be: generate a script, create an AI image or voiceover, insert those assets into a predefined video template, and then render the finished video automatically. That approach makes sense when you want AI to generate pieces of the content while Creatomate keeps the final video structured and on-brand.
Shotstack
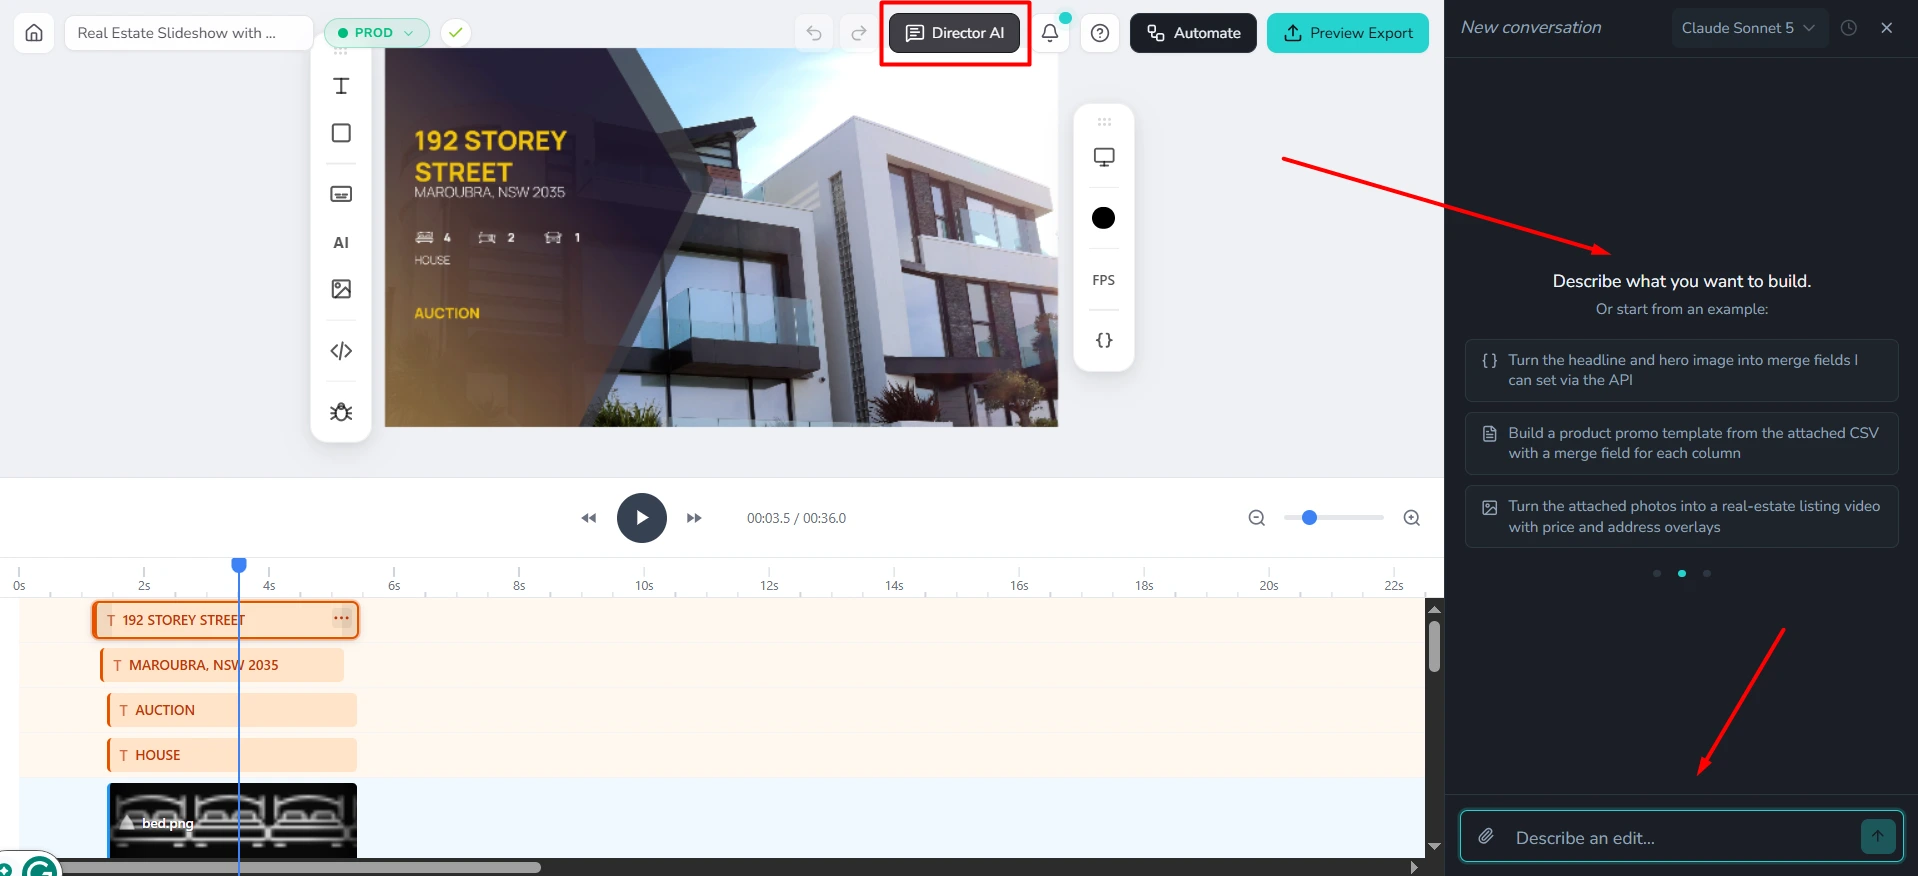
Shotstack has gone further in bringing AI generation into its own platform. Its Create API supports AI asset generation alongside Shotstack’s existing editing and rendering tools. You can generate images, voices, and video assets and then feed them into the rest of the video creation process.
This makes Shotstack more interesting if you’re specifically building an AI video generation workflow and want fewer moving parts between asset generation and final rendering. You can still use external AI services, of course, but you have more native AI video and image generation capabilities available inside Shotstack itself.
Who’s the winner: Creatomate or Shotstack?
Shotstack wins if built-in AI generation is important to you. Creatomate is better suited to using AI-generated content inside a template-driven workflow. Shotstack currently gives you a broader set of AI generation capabilities within the same platform.
API & Developer Experience
Creatomate
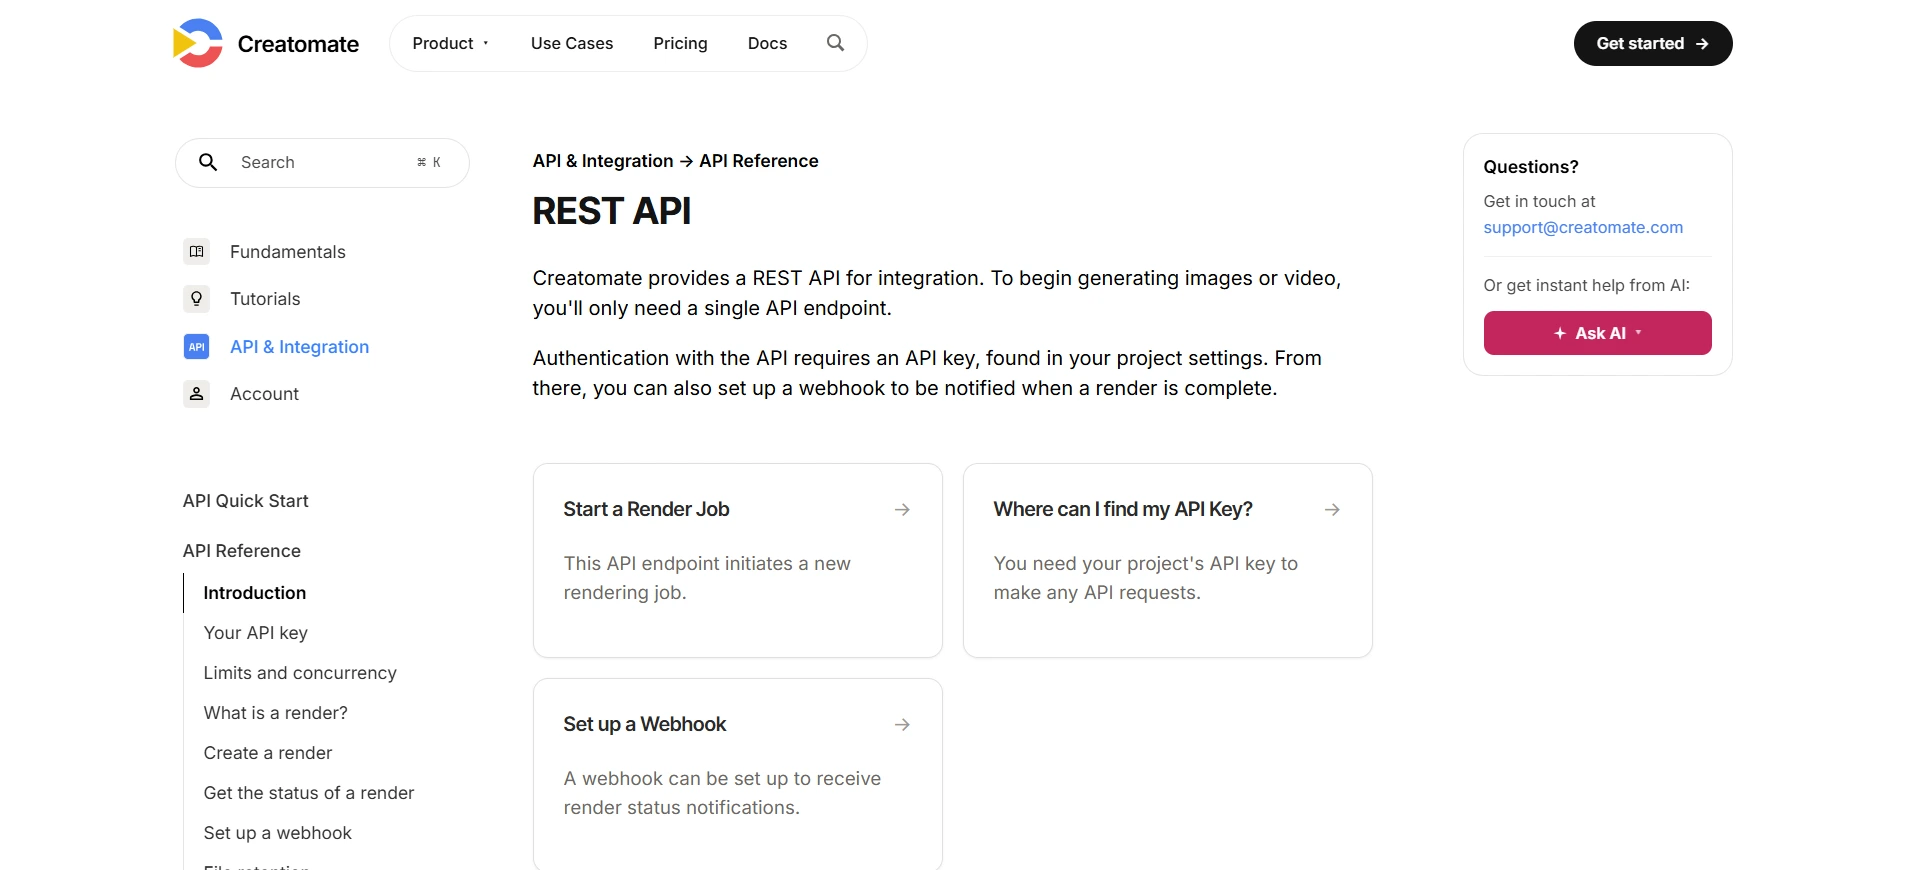
Creatomate’s API is designed so you don’t have to make things more complicated than they need to be. If you’ve already created a video template, you can trigger a render through the REST API and send only the values you want to change. You authenticate using an API key, and webhooks can notify your application once the render is complete.
If templates start to feel limiting, you can go deeper and define an entire composition with RenderScript. Because RenderScript uses JSON, you can control elements, timing, dimensions, animations, media, and other properties without touching the visual editor.
Creatomate also offers a JavaScript Preview SDK, which becomes useful if you want users to preview or edit dynamic videos in the browser from inside your own application. The nice thing here is the progression: you can start visually and introduce more code only when your workflow actually needs it.
Shotstack
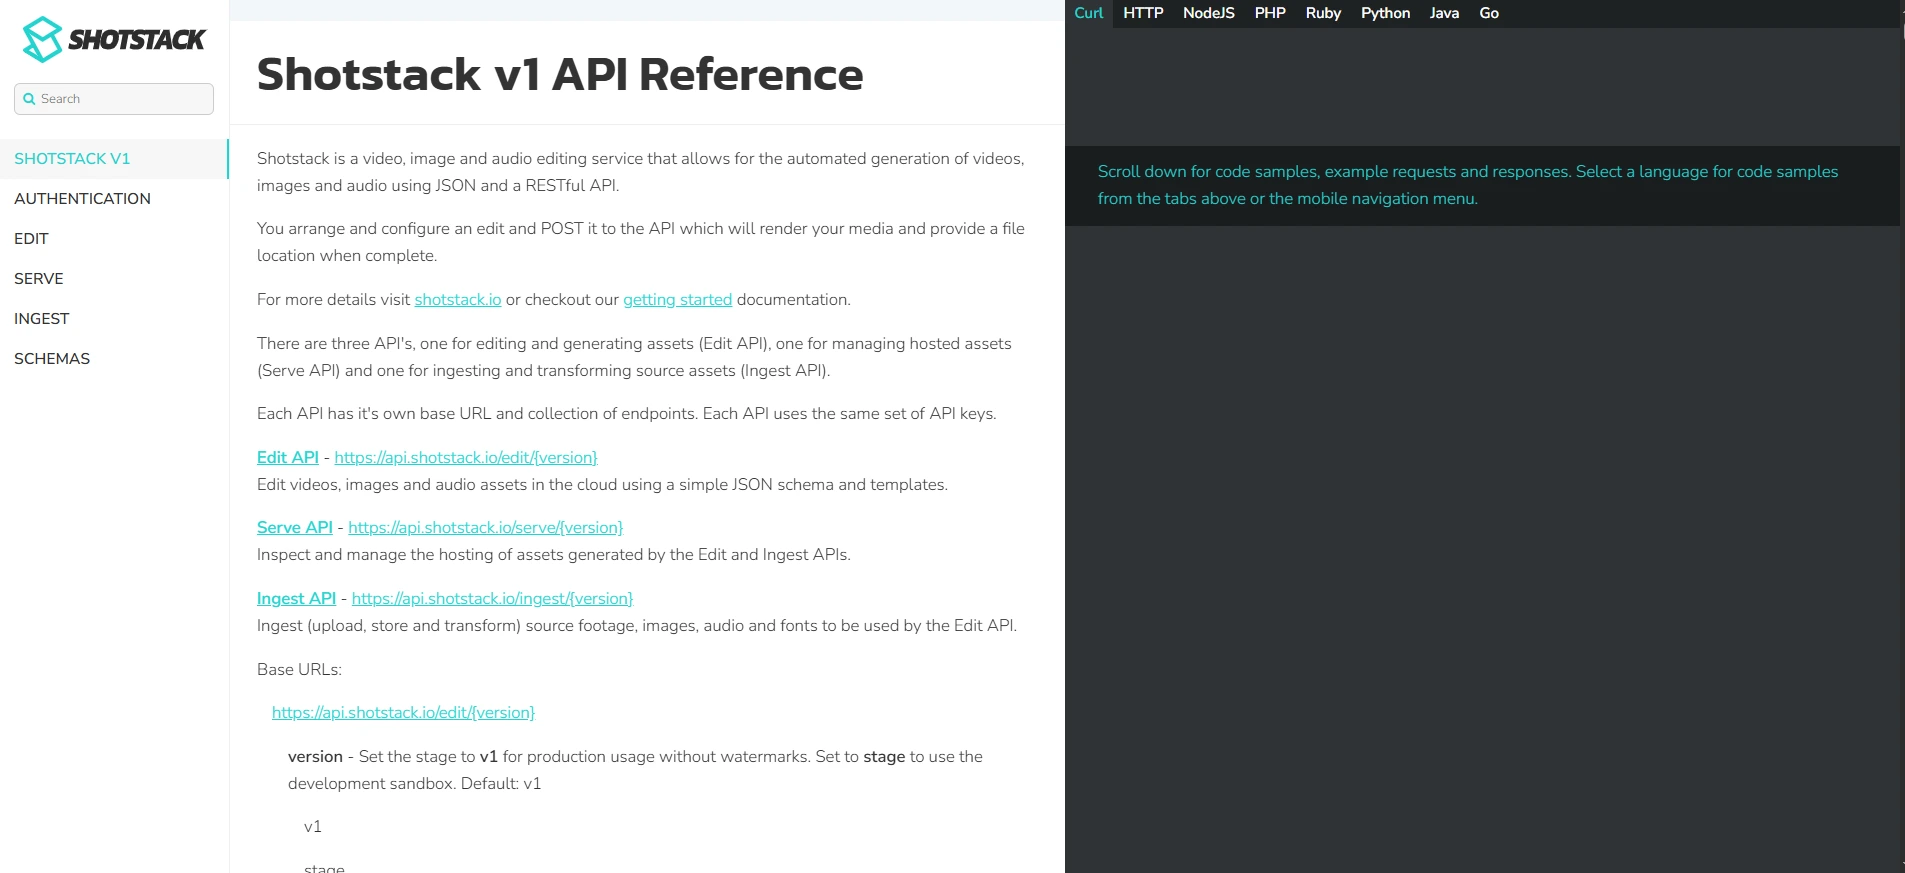
Shotstack takes the opposite approach: the API is the product’s natural starting point.
Its Edit API uses JSON to describe the timeline, tracks, clips, text, media, effects, transitions, and other parts of your composition. You send that JSON payload to Shotstack’s API and receive the finished render once processing is complete.
Shotstack also separates different parts of the video pipeline into APIs. The Edit API handles editing and rendering, while its other APIs cover areas such as asset ingestion, hosting, and AI generation.
You also get SDKs for languages including Node.js, Python, PHP, and Ruby, plus a sandbox environment where you can test your implementation. If you want to create videos programmatically and treat video as another piece of your application infrastructure, Shotstack’s approach feels very natural.
Who’s the winner: Creatomate or Shotstack?
This one actually depends entirely on how you want to build. Creatomate is easier if you want to start with a visual template and automate it afterward. Shotstack is stronger if you want to start with the API itself.
So rather than declaring one universally better, think about where you expect to spend most of your time: inside a template editor or inside your codebase.
Integrations
Creatomate
Creatomate integrates with popular automation platforms including Zapier, Make, Pabbly, and n8n. That means you can connect video generation to the tools already moving data around your workflow. A new spreadsheet row, form submission, CRM update, or other trigger can start an automated video workflow without you having to build a custom integration from scratch.
Keep in mind that these are often connections through automation platforms rather than direct native integrations with every app you use. Still, if you want to automate video creation without writing much code, Creatomate gives you plenty to work with.
Shotstack
Shotstack also works with platforms such as Zapier and Make, so you can build automated workflows without using its APIs for every step.
But integrations feel more secondary to the overall Shotstack experience. The platform is fundamentally built around API access, so if you want to connect Shotstack deeply with another product, you’ll probably end up working directly with its APIs anyway.
Who’s the winner: Creatomate or Shotstack?
Creatomate gets a slight edge for no-code automation. Both cover the major automation platforms, but Creatomate makes these workflows a more prominent part of the product experience. If you already plan to build custom integrations, though, there isn’t much separating them here.
Whitelabeling
Creatomate
Creatomate’s JavaScript Preview SDK lets you bring parts of its video creation experience into your own application. You can let users customize templates, preview dynamic changes, and interact with video content without sending them to Creatomate’s website.
That gives you the foundation for a white-label experience, although it isn’t a ready-made product you simply switch on. You still need to build the surrounding interface and workflow yourself.
Shotstack
Shotstack goes a step further with its Studio SDK. You can embed a customizable video editor inside your application and adapt the interface to your own branding. Users can work with common editing features such as text, images, audio, video, transitions, and filters while Shotstack handles the underlying video capabilities and final render.
Its SDK is source-available under the PolyForm Shield license, so you’ll also want to check the licensing terms if the editor will become an important part of your commercial product.
Who’s the winner: Creatomate or Shotstack?
Shotstack has the stronger whitelabeling offering. Both can help you build video functionality into your own product, but Shotstack gives you a more complete embedded video editor out of the box.
Security
Creatomate
Creatomate addresses GDPR in its Privacy Policy and explains how it handles personal data and user rights. It also identifies infrastructure providers such as AWS and DigitalOcean. What you don’t get is a particularly detailed public security center with extensive information about certifications, controls, and enterprise security practices.
For example, Creatomate does not publicly state that it holds ISO 27001 certification. That doesn’t automatically mean its security is inadequate. It simply means you have less public documentation to evaluate. If security or regulatory requirements are important to your use case, you’ll probably need to ask Creatomate for additional information before making a decision.
Shotstack
Shotstack is more transparent about its security practices. Its Privacy Policy addresses GDPR, while its Data Processing Addendum goes into more detail about encryption, access controls, multi-factor authentication, logging, incident management, and how customer data is processed.
Shotstack also states that it runs on AWS infrastructure covered by certifications including ISO 27001 and SOC 2. There is an important distinction here: that does not mean Shotstack itself claims to be ISO 27001 certified. The certifications it references apply to the underlying AWS infrastructure.
Who’s the winner: Creatomate or Shotstack?
Shotstack wins on security transparency. You simply have more public information available when evaluating how Shotstack protects and processes your data. That can make vendor assessment easier if security is part of your buying process.
Pricing
Creatomate and Shotstack both use credit-based pricing, but their credits work differently, so comparing monthly prices alone can be misleading.
Creatomate
Creatomate calculates video credits based on duration, resolution, and frame rate. As a reference, one minute of 720p video at 25 fps uses about 14 credits, while one image costs one credit.
You get two months free with annual billing, 50 free credits to test the platform, and API access is included across its paid plans.
Shotstack
Shotstack keeps rendering credits simpler: one credit equals one minute of rendered video, regardless of resolution within your plan.
Pay As You Go credits last for one year, while subscription credits can roll over up to three times your monthly allowance. Subscription overages are charged automatically, whereas Pay As You Go rendering stops once you run out of credits.
Who’s the winner: Creatomate or Shotstack?
There’s no clear pricing winner. Shotstack is easier to forecast because usage is tied directly to video duration, while Creatomate’s cost also changes with resolution and frame rate. The best way to compare them is to calculate the cost of the videos you actually plan to create based on length, quality, and monthly volume.
Reviews
While features tell you what a platform can do, reviews are there to help you see what it’s actually like to use the platform once you start building with it.
Creatomate
The overall Creatomate review picture is positive. Users on G2 and Capterra regularly praise its flexibility, straightforward API, template editor, and responsive customer support.
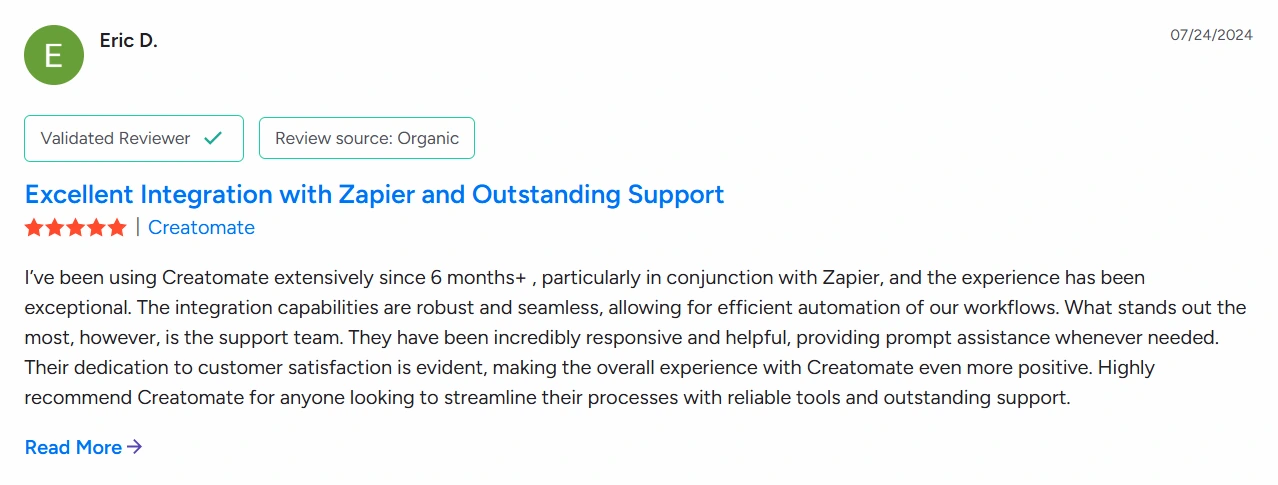
The tradeoff is that Creatomate isn’t trying to replace a full desktop video editor. Some reviewers point out that it doesn’t offer the same depth of editing features you’d get from tools such as After Effects or CapCut.
Shotstack
The Shotstack review feedback is positive as well, particularly around its API and developer experience. Users highlight its clear API structure, sandbox for testing, and helpful developer support.
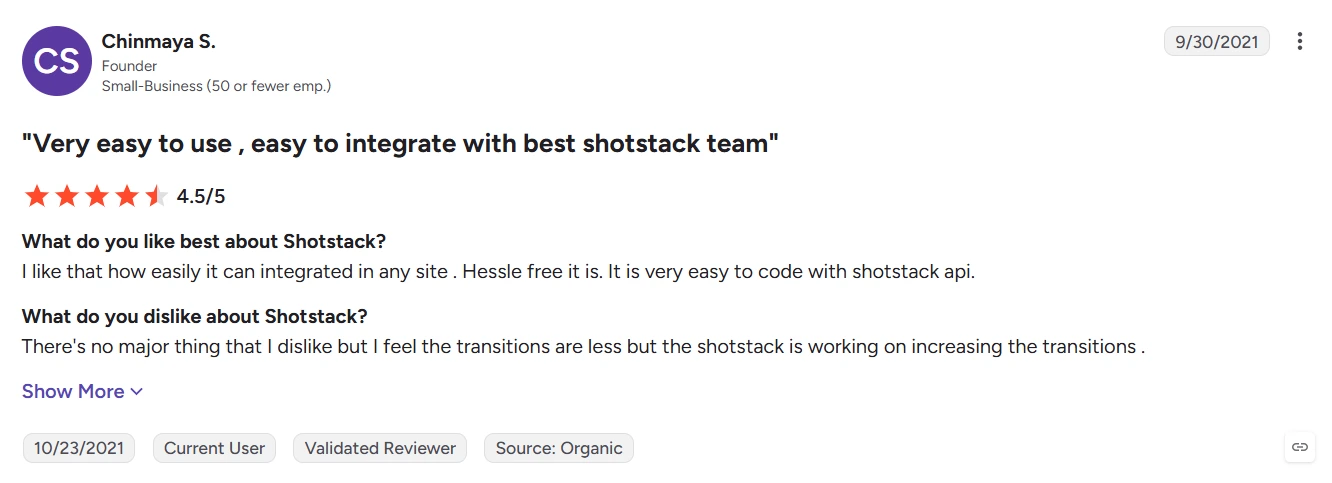
Who’s the winner: Creatomate or Shotstack?
There isn’t a meaningful winner based on reviews alone. Both get positive feedback, but neither has enough review volume to make user ratings the deciding factor.
Creatomate gets more praise for flexibility and ease of building automated template workflows, while Shotstack stands out for its API and developer support. Your choice should come down to the workflow you prefer rather than a small difference in review scores.
Best alternative to Creatomate and Shotstack: Plainly Videos
In case neither Creatomate nor Shotstack quite fits your workflow, Plainly Videos is a strong alternative when you want to keep the creative freedom of After Effects while automating video production at scale. The reviews speak for themselves!
Plainly is a video automation platform that turns Adobe After Effects templates into dynamic videos driven by your own data. You create your design in After Effects, choose which elements should change, connect your data, and let Plainly handle cloud video rendering and delivery. You can work through the Web App, integrations, or API depending on how much you want to automate.
Here’s where Plainly stands out compared with Creatomate and Shotstack:
- Use your actual After Effects templates - Instead of rebuilding your designs in an online editor, Plainly brings After Effects automation directly into your existing creative workflow. You can upload your project, make text, images, videos, audio, colors, and other layers dynamic, and generate variations using Plainly’s rendering infrastructure.
- Control how the template reacts to your data - Plainly lets you create rules for things like text length, layer timing, asset duration, cropping, and positioning. So when your dynamic content changes, you can control how the composition adapts instead of manually fixing individual video variations afterward.
- Get the same capabilities in the Web App and API - Plainly has full feature parity between the two, meaning anything you can configure in the Web App can also be controlled programmatically. You can start manually and later create videos programmatically without rebuilding the workflow around a more limited API.
- Connect Plainly directly to more of your workflow - Along with full API access, Plainly has native integrations with 20+ tools, including Google Sheets, Airtable, Google Drive, Dropbox, Frame.io, and Zapier. This gives you more options for pulling in data, rendering dynamic videos, and distributing finished content without relying on an automation platform for every connection.
- Scale without giving up enterprise requirements - If you need a bulk video editor for high-volume production, Plainly lets you generate large numbers of video variations from the same After Effects template while processing multiple renders in the cloud. It is also ISO 27001 certified and GDPR compliant, supports MFA, and offers SSO and custom SSL on Custom and Enterprise plans.
- Get hands-on help when your workflow gets complicated - Every customer gets email support, while higher plans add options such as training sessions, Slack support, and 1:1 calls.
Of course, Plainly won’t be the best alternative for every use case. If you specifically want to build templates in a browser or construct videos primarily through JSON, Creatomate or Shotstack may fit you better. But if you already use After Effects or you need more creative control, native integrations, enterprise security, and a platform for automating video production at high volume, Plainly gives you a very different option from both Creatomate and Shotstack.
Final comparison table. A quick 30-second rundown
So, choosing the right video platform really comes down to how you want to work.
Choose Creatomate if you want a strong browser-based editor, responsive templates, and an easy path between visual creation, no-code automation, and API workflows. Choose Shotstack if you want API-first video infrastructure, built-in AI capabilities, scalable rendering, or a white-label video editor you can embed into your own product.
Finally, choose Plainly Videos if you want to keep After Effects at the center of your creative workflow while adding bulk automation, advanced dynamic logic, 20+ native integrations, and enterprise-grade security.
There’s no single winner for every use case. The best choice is the one that lets you automate the volume you need without giving up the way you actually want to create video.