How to create video content at scale [2025]


Summarize with


Creating video content at scale doesn’t have to be complicated - especially if you’re using the right workflow and tools. In this quick guide, we’ll walk you through the exact method we use at Plainly to generate thousands of videos.
We personally found the following process to be the simplest way to scale video production. And guess what? It works for everyone, from solo creators to motion designers. What’s best is, you don't have to write a single line of code to do it!
Prefer watching? Here’s the full video tutorial that goes into each step in detail.
A step-by-step guide on how to create video content at scale
Once upon a time, we've been in your shoes...stuck manually editing video after video just to swap out a few details. It’s tedious. It’s time-consuming. And frankly, it doesn’t scale.
Until we realized there's a better way. That's when Plainly Videos was born, and with it, the possibility of creating numerous videos from a single After Effects template.
The idea is simple: You design one video, then automatically generate multiple versions by changing elements like text, images, colors, footage, and more - all powered by Plainly.
There are three main ways to do this: via spreadsheets, no-code tools like Zapier or Make, or through API integrations.
But in this guide, we’ll focus on the most popular and beginner-friendly method - using a spreadsheet.
1. Create your video template
To scale content production, you’ll first need a video template built in Adobe After Effects. This is what you'll upload to Plainly in the next step and what this automatic video editor will use as the foundation for all video variations.
That begs the question: how does Plainly know which elements to customize in each video?
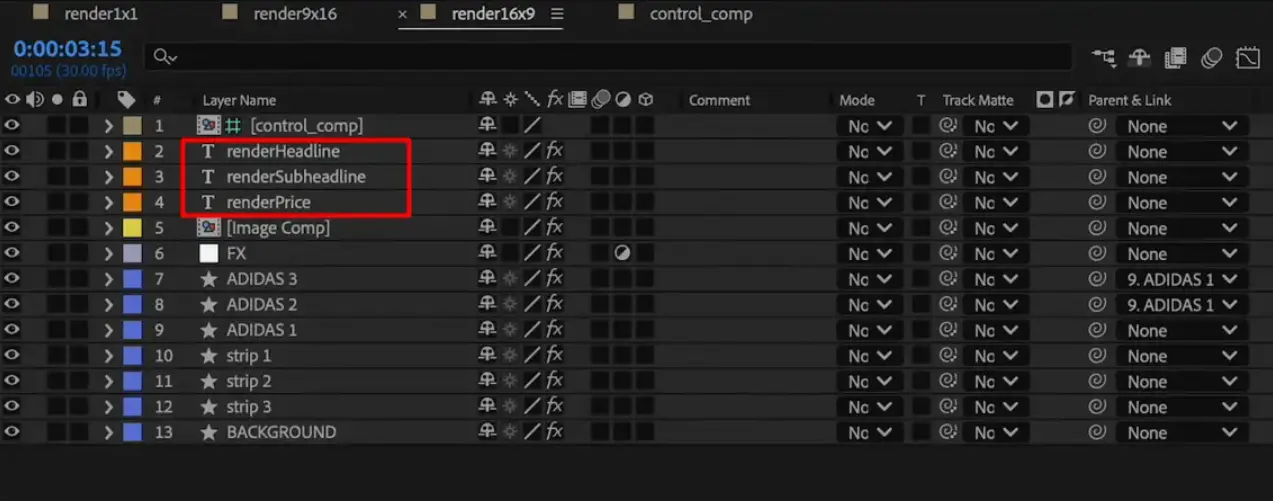
Simple! It looks for layer names that follow a specific pattern, more specifically, those that start with a shared prefix.
That’s where you come in: just add a prefix to any layer you want to make dynamic (text, images, footage, audio, colors, etc.). There’s no fixed prefix you need to use, but it’s important to stay consistent across all dynamic layers. In other words, if you add a prefix ‘’render’’ to one layer, then all layers with elements that you’d like changed must have that same prefix.
Done renaming them? Zip the entire project folder, including your .aep file and all linked assets.
2. Upload your template to Plainly
Once your zipped project is ready, head over to your Plainly dashboard and click “Upload project.” Give it a name, select the file, and upload away.
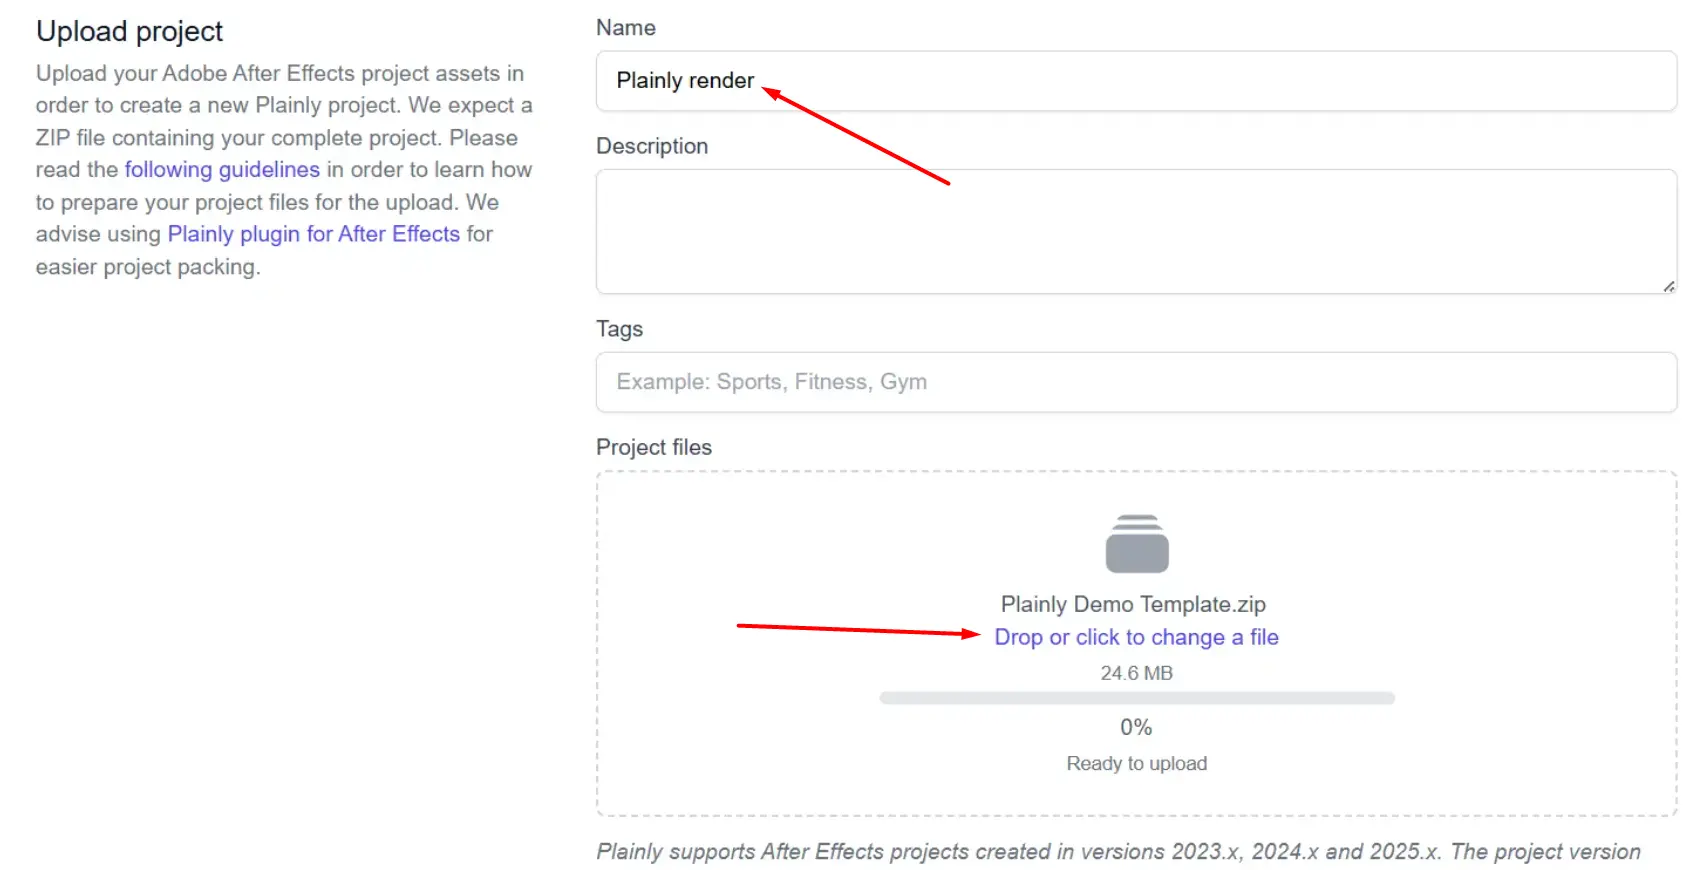
As a result, you’ll have a fully hosted project inside the software that you can now turn into a template that will be used for video production at scale.
Inside of it, you can tweak each dynamic layer manually… but why not use After Effects automation to your advantage?
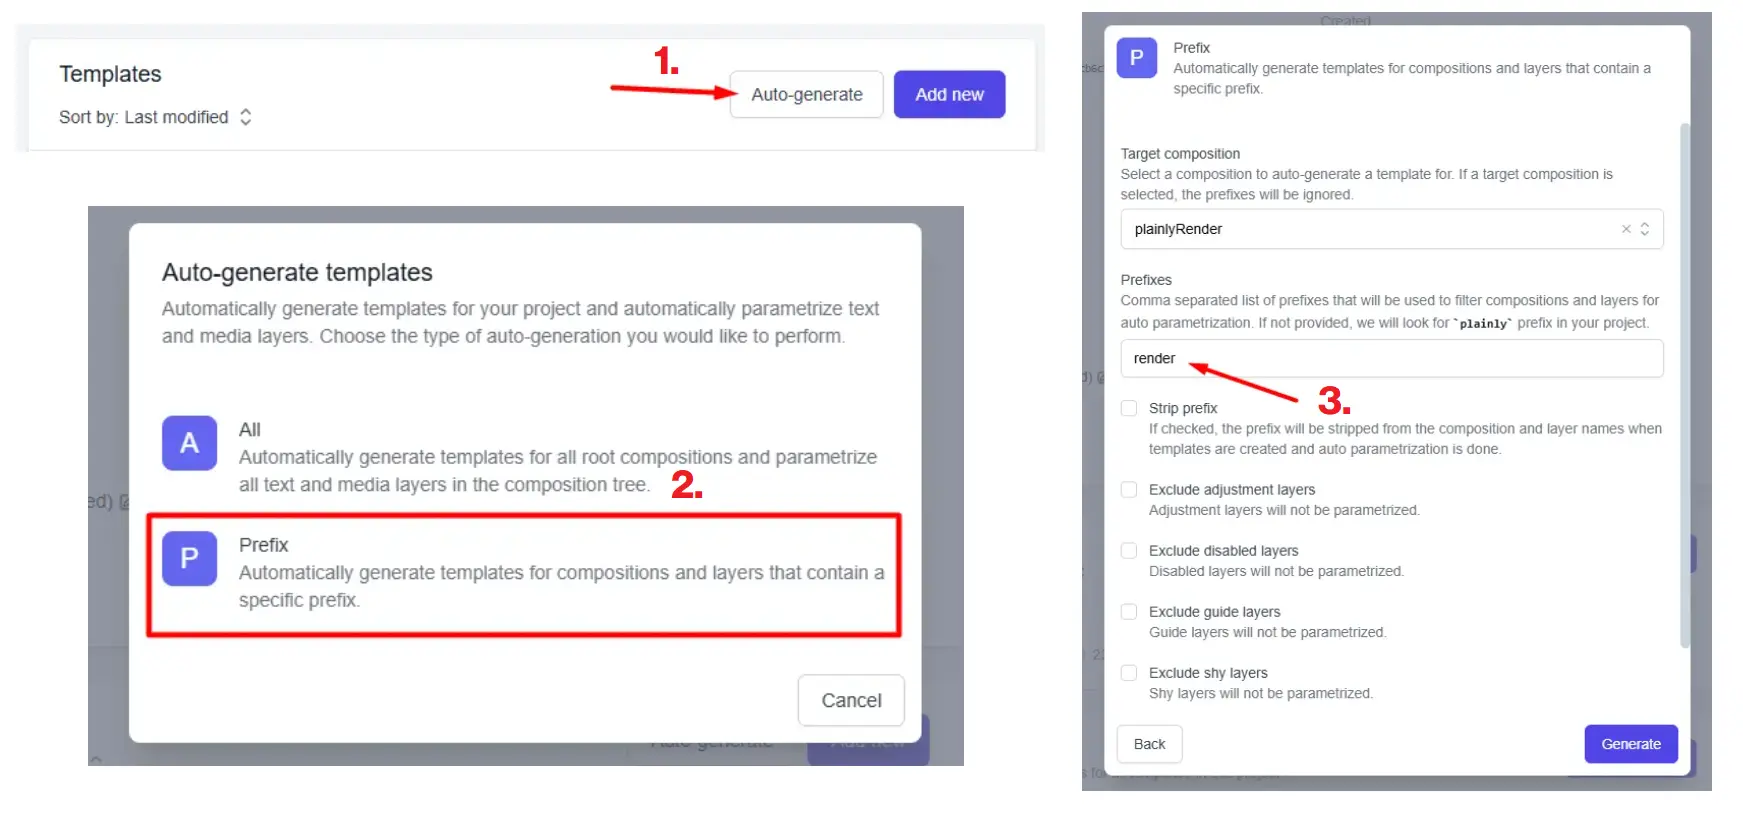
How? Well, just hit “Auto-generate”, choose the prefix option, and enter the prefix you chose. This tells Plainly to scan your project and detect all layers that start with your chosen prefix. It saves a ton of time and works flawlessly as long as your naming is consistent.
And if you need different versions for different platforms or use cases, you can even create multiple templates from the same uploaded project - no need to reupload anything.
3. Connect your spreadsheet or CSV to customize your videos
All good on the template?
Next, it's time to feed in the data that will drive your video variations, for which you'll need a spreadsheet file that you can make in Google Sheets, Excel, or a similar tool.
As you go about doing it, keep in mind that:
- Each row in it represents a different video version.
- Each column corresponds to one of the dynamic layers you set up in After Effects
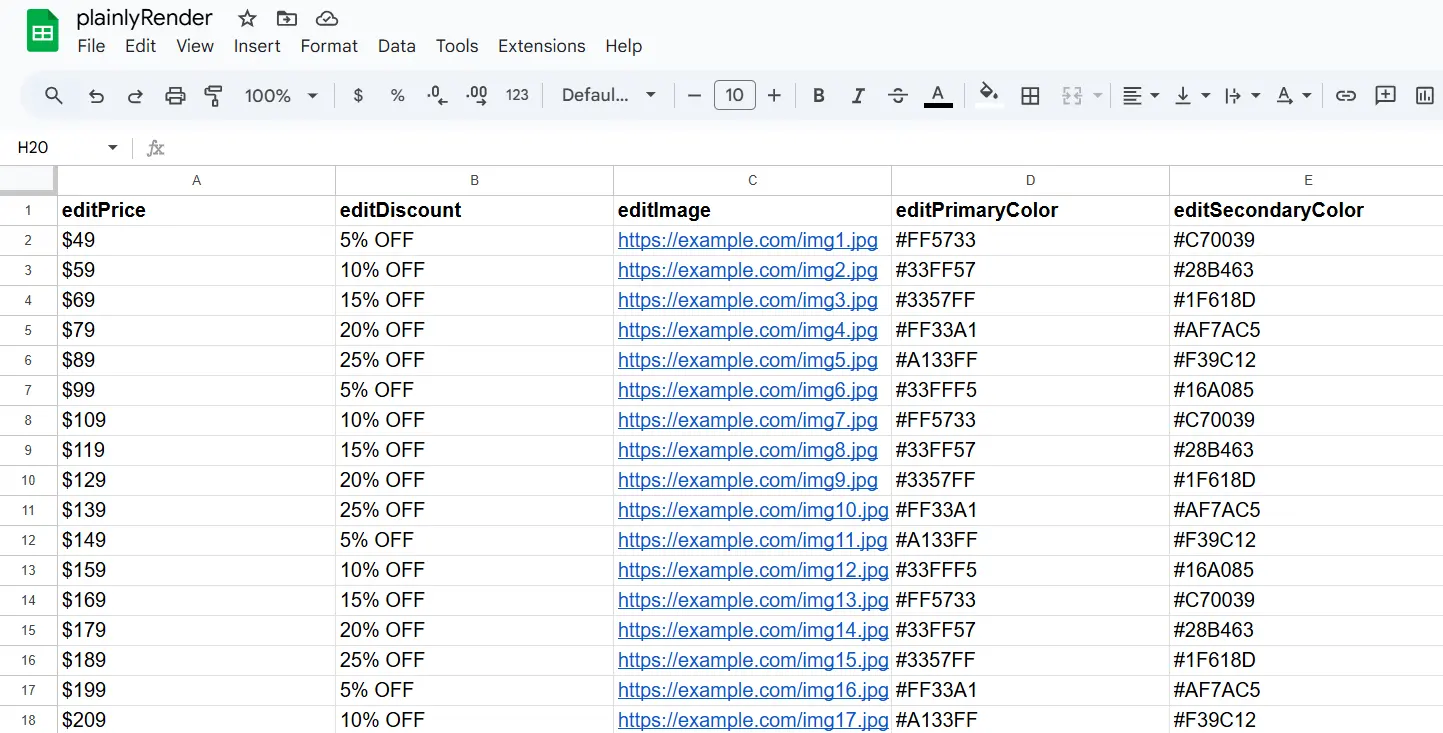
Not sure how to format it? Plainly has you covered. You can generate a sample CSV directly from your template - just download it, fill in your data, then upload it back.

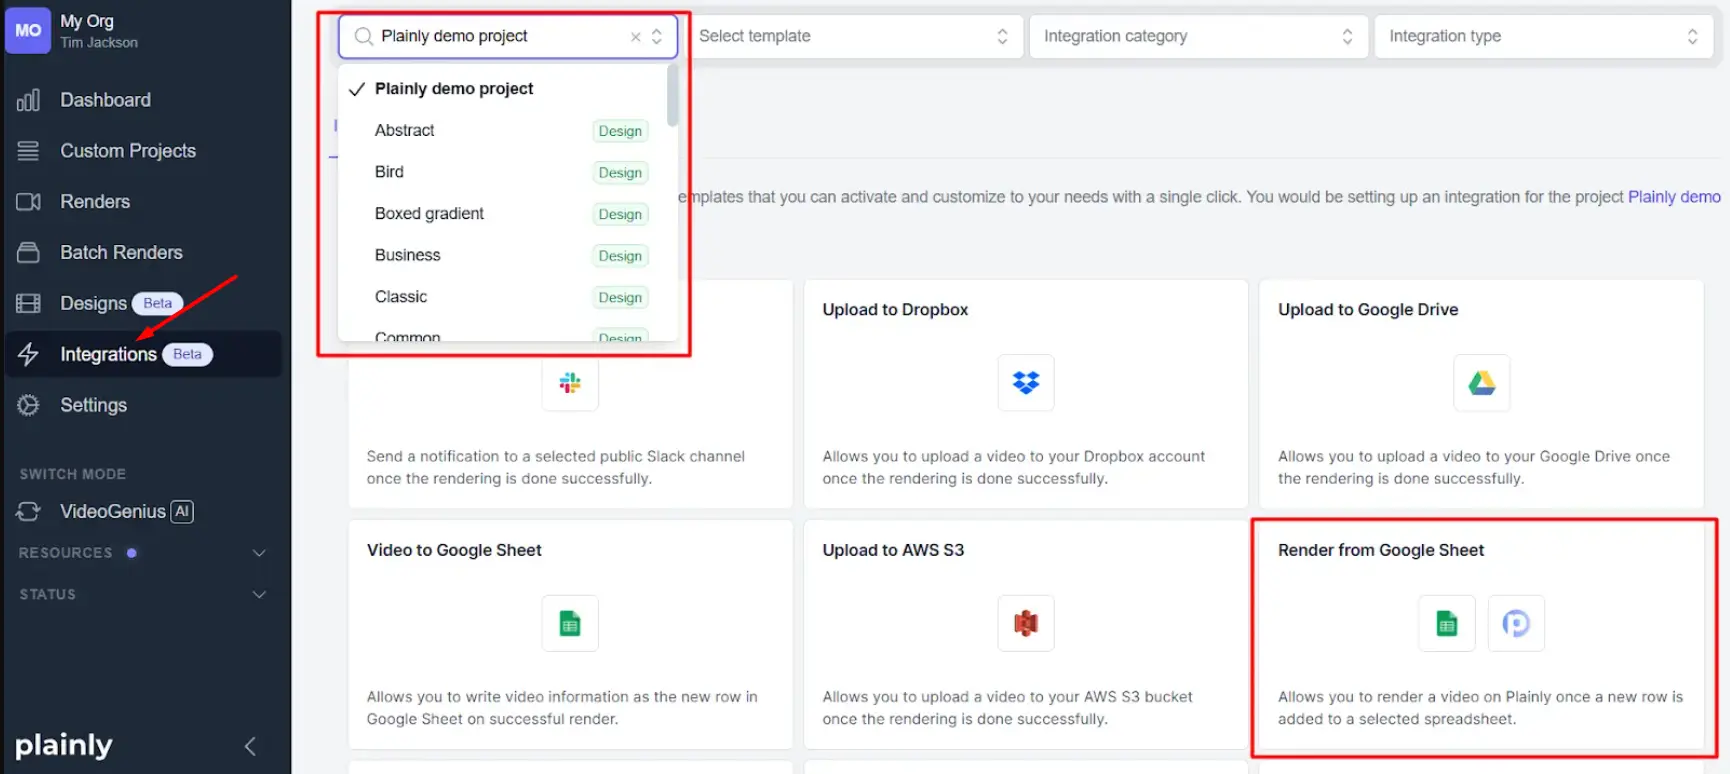
If you prefer it, you can also translate data from your spreadsheet to video by connecting Google Sheets directly to Plainly via our Integrations tab.
4. Render your videos
Rendering is the part where everything comes full circle. And just like it’s possible to batch render in After Effects, it’s possible to do it in Plainly as well. On a lot bigger scale, though.
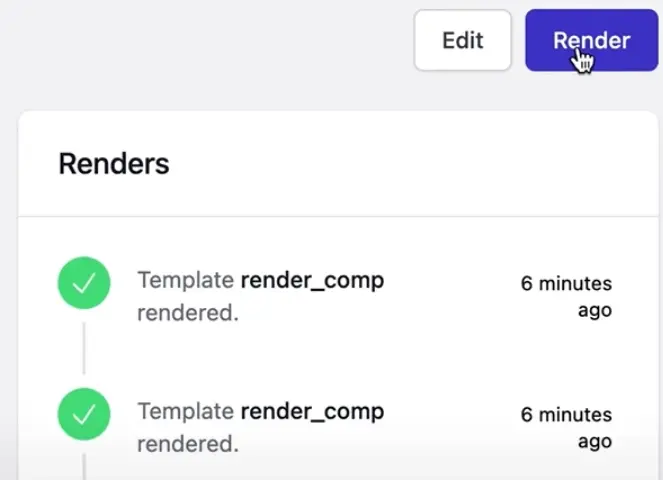
To go through with it, go to Render…
….then Batch render…
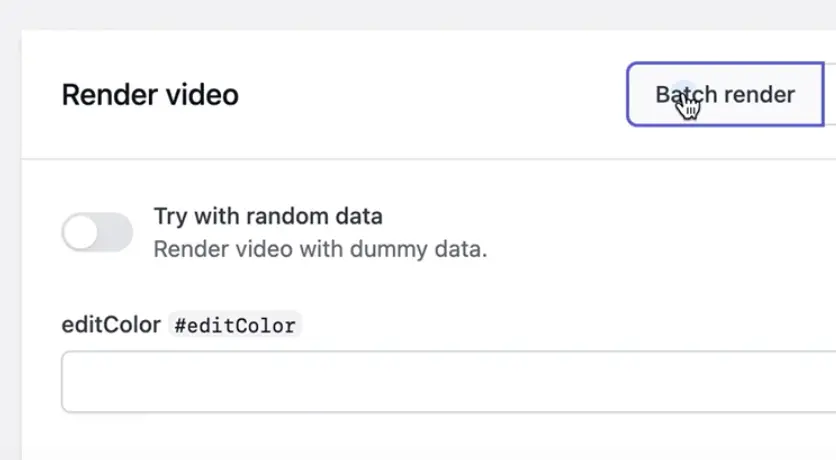
…and upload the CSV file you just prepared.
Unless you opted to automate rendering via our Google Sheets integration, in that case, follow the workflow we talked about in this video.
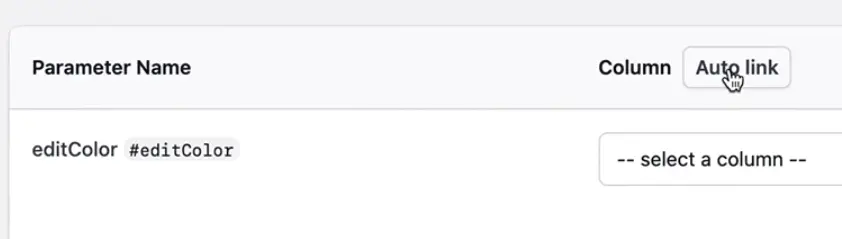
Want to make the setup easier? Click “Auto link” so the software automatically matches your CSV columns with the dynamic layers in your AE template.
Then, hit Next, then Render, and that’s it.
In just a few minutes, you’ll have all your video versions ready to go. In fact, rendering thousands of videos can be done in under 10 minutes, depending on the complexity of your template.
5. Download or distribute your videos
So you've produced your video content at scale. But you still need to get people's eyes on it, and to do that, you need to first download the videos, either one by one or as a batch in a .zip format. Then, you can go about the video content delivery manually or using a tool of your choice.
Another way to get your videos out there is to set up integrations with platforms like Google Drive, Dropbox, and Frame.io, among others, directly in Plainly. You can even build fully customized workflows using our API to trigger renders and handle distribution end-to-end.
Produce high-quality video content at scale the smart way
The old, manual ways no longer work when it comes to the video creation. That's because audiences nowadays expect more content, more personalization, and faster turnarounds than ever before. And the only way to keep up? Stop thinking in single exports and start thinking in scale.
Speaking of creating video content at scale, the only things you need, as you've seen, are an After Effects template, a CSV file, and our very own Plainly.
Now, it's one thing to read about it, but it's a whole different thing to experience the workflow for yourself. So, kick things off with a free 14-day trial or book a demo to see in real-time just how effortless scaling your video production process can be with #1 video automation software in your corner!


.webp)